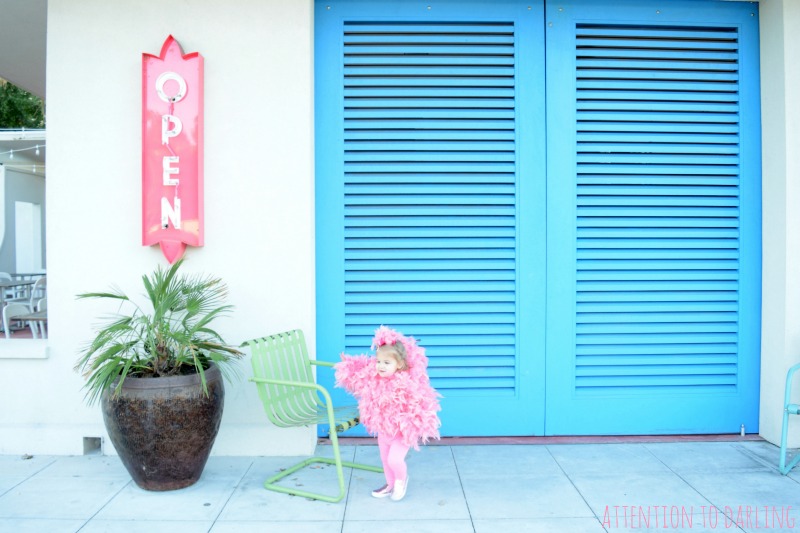
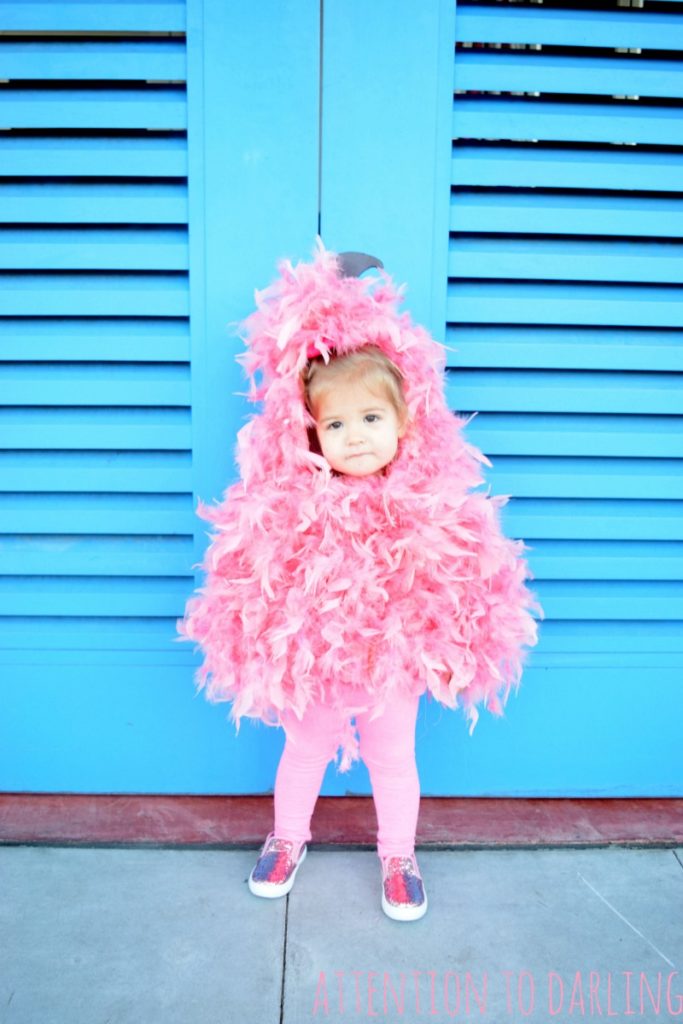
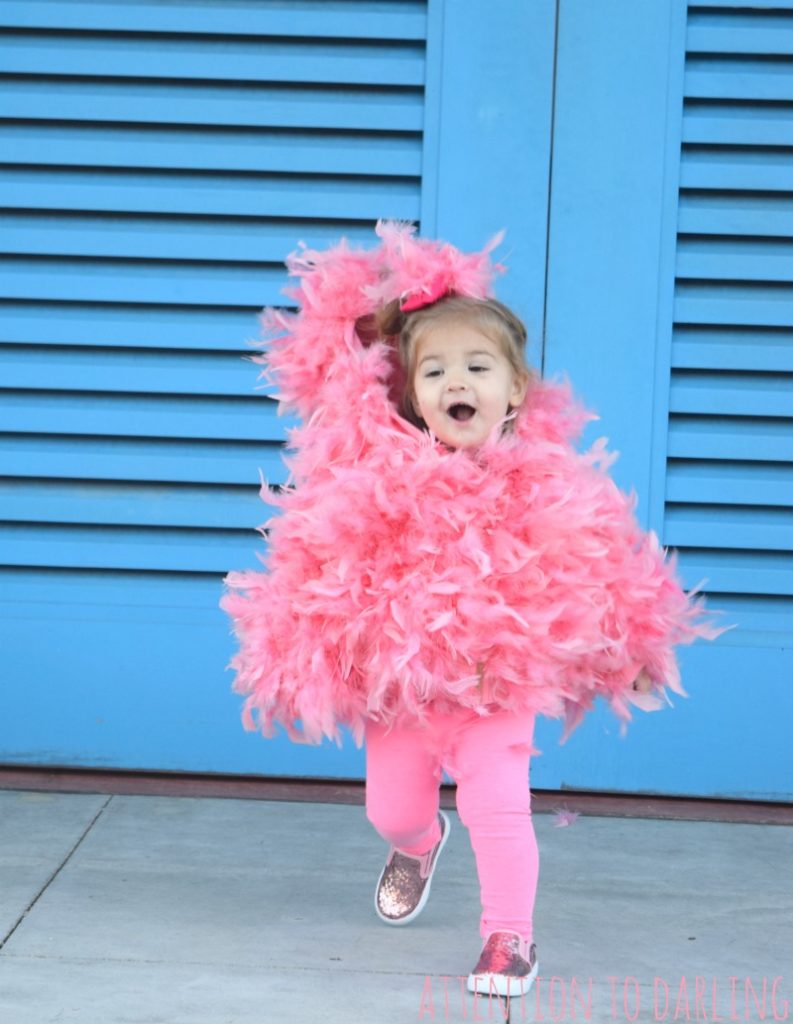
Happy Wednesday you guys! In lieu of my normal Welcome Home Wednesday post, I’m coming at ya with a last minute and easy toddler DIY flamingo Halloween costume! This is seriously the easiest to make and if I hadn’t run out of glue sticks, it would have only taken a couple hours while watching Friday Night Lights and drinking rosé. I mean, that’s a #momwin right there!
My Nana made Halloween costumes for me as a little girl and I’ve always wanted to do the same for my little girl one day. Well, I’m definitely no Martha Stewart, nor do I seem to have any spare time these days. But, I started brainstorming the idea of a flamingo costume and decided hot gluing some boas on a hoodie along with a beak on top would make for one cute and easy costume!
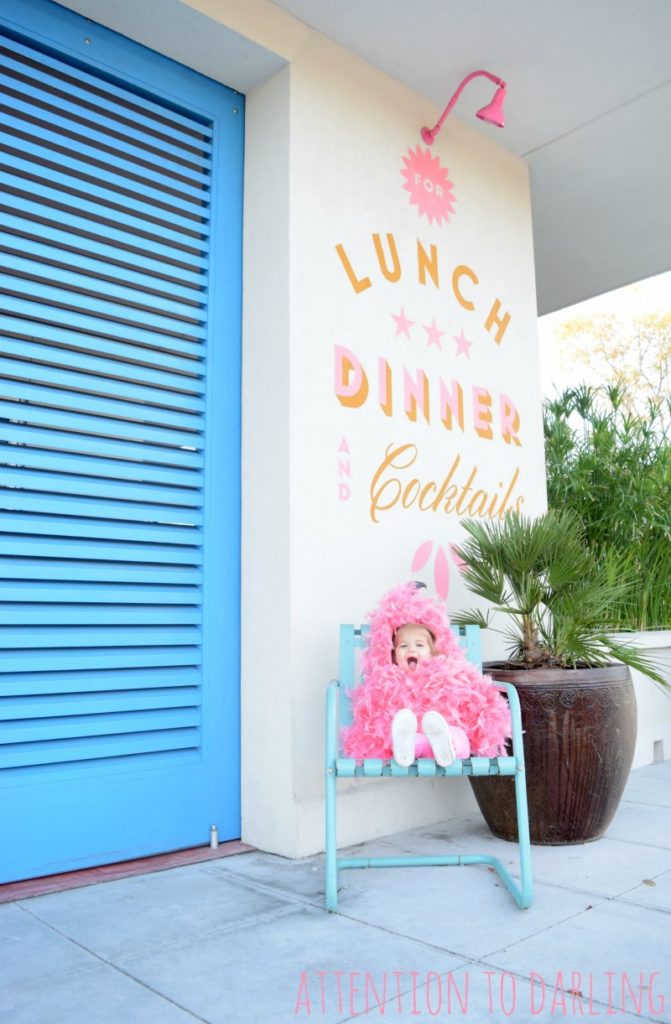
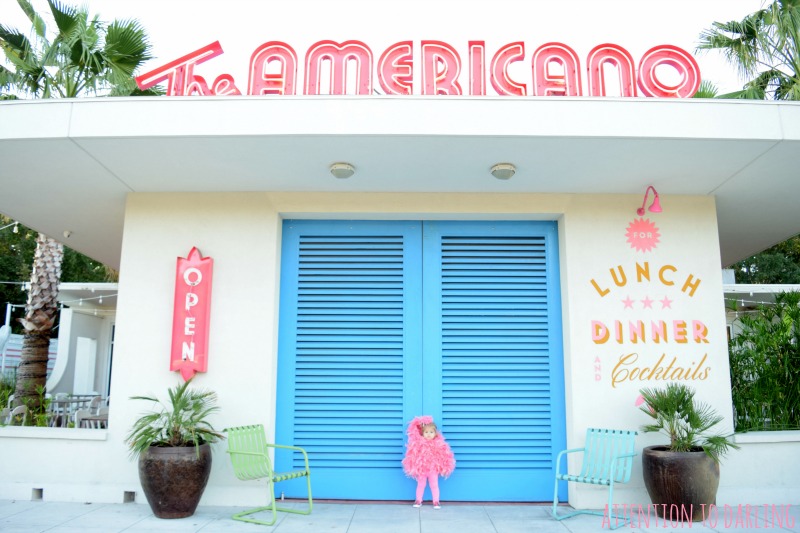
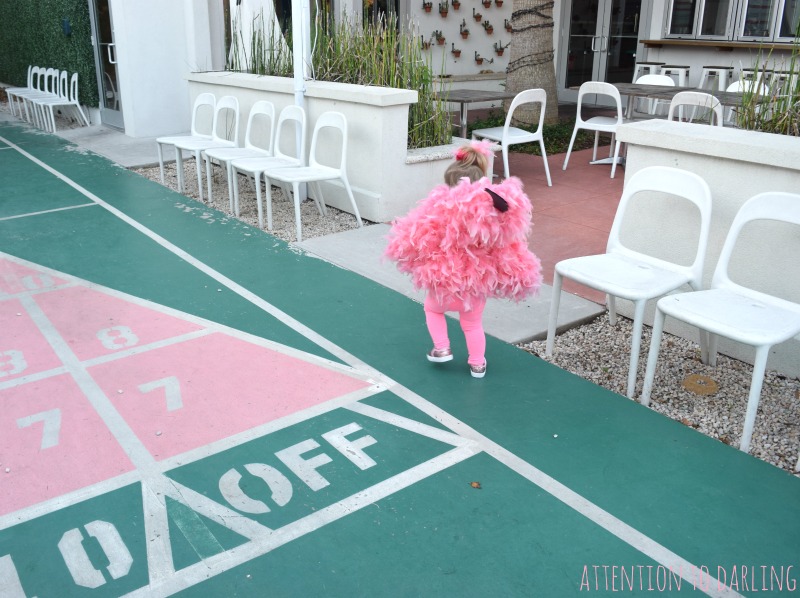
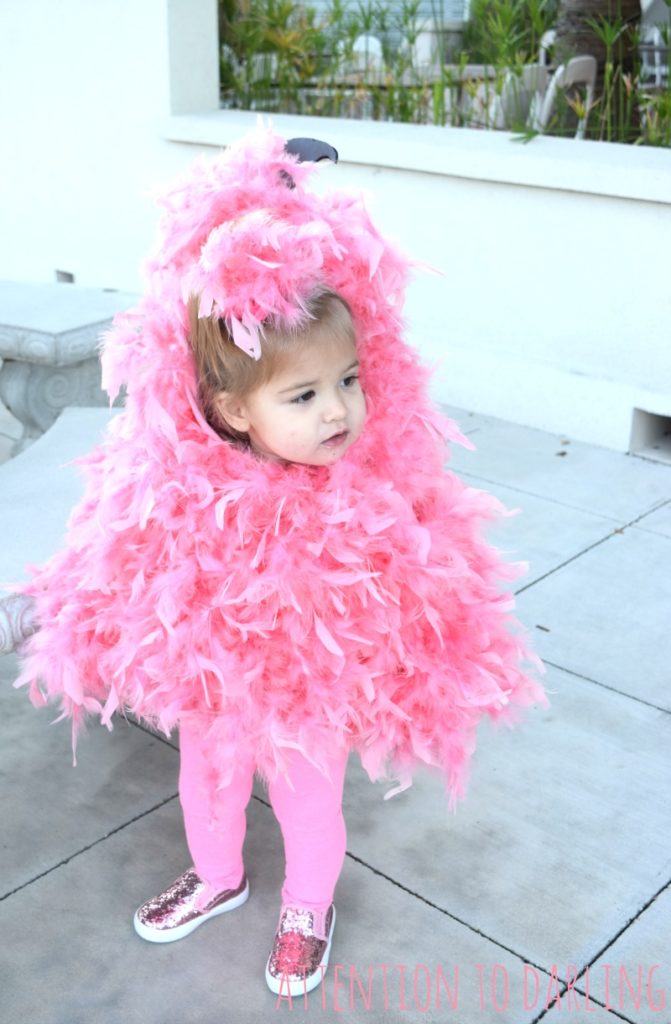
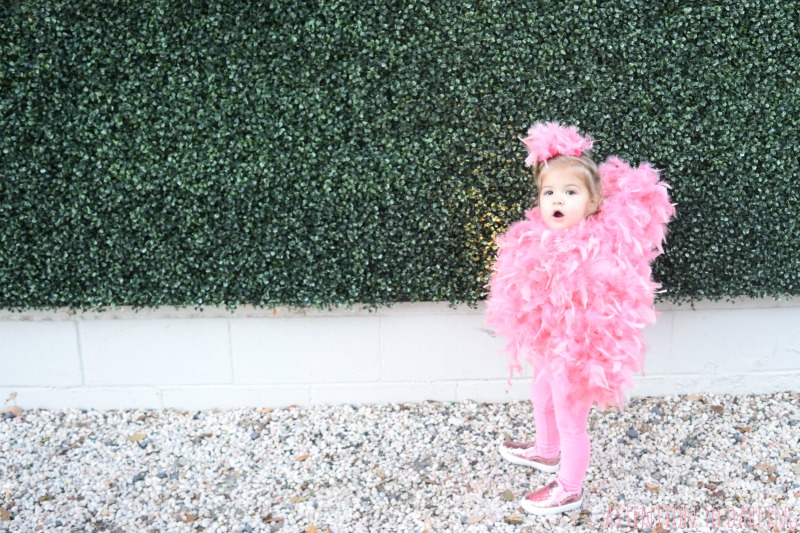
The Americano here in Mount Pleasant made for THE most perfect backdrop! One of my favorite spots in town…
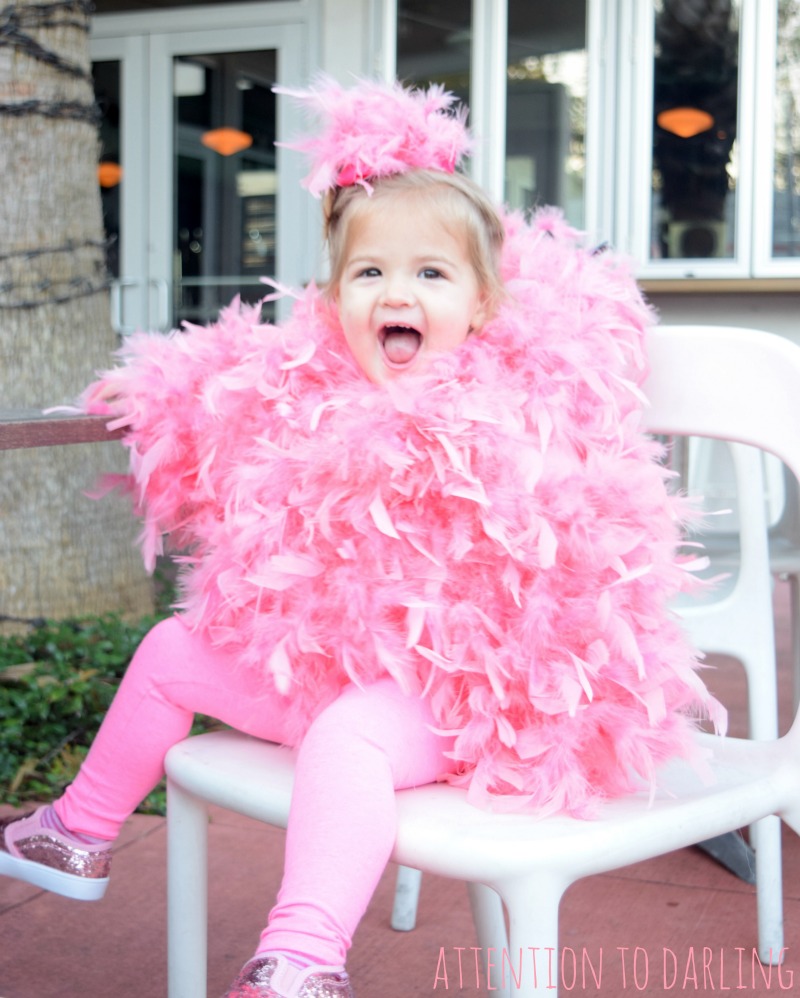
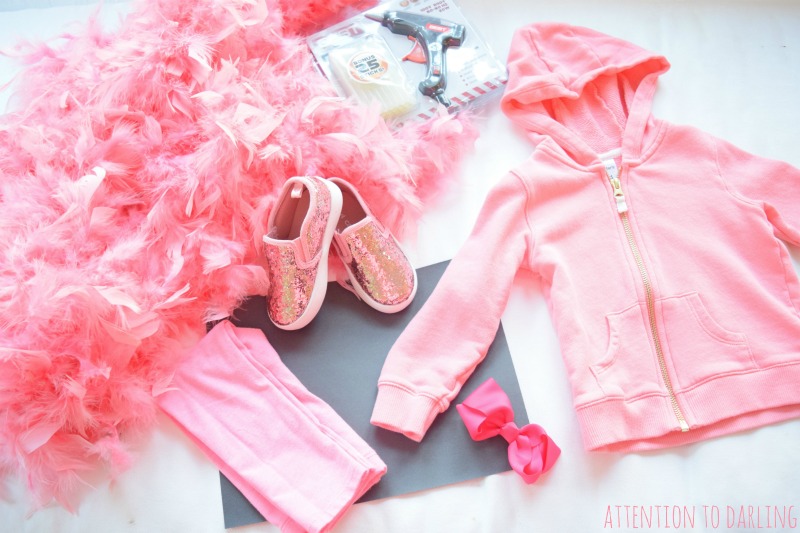
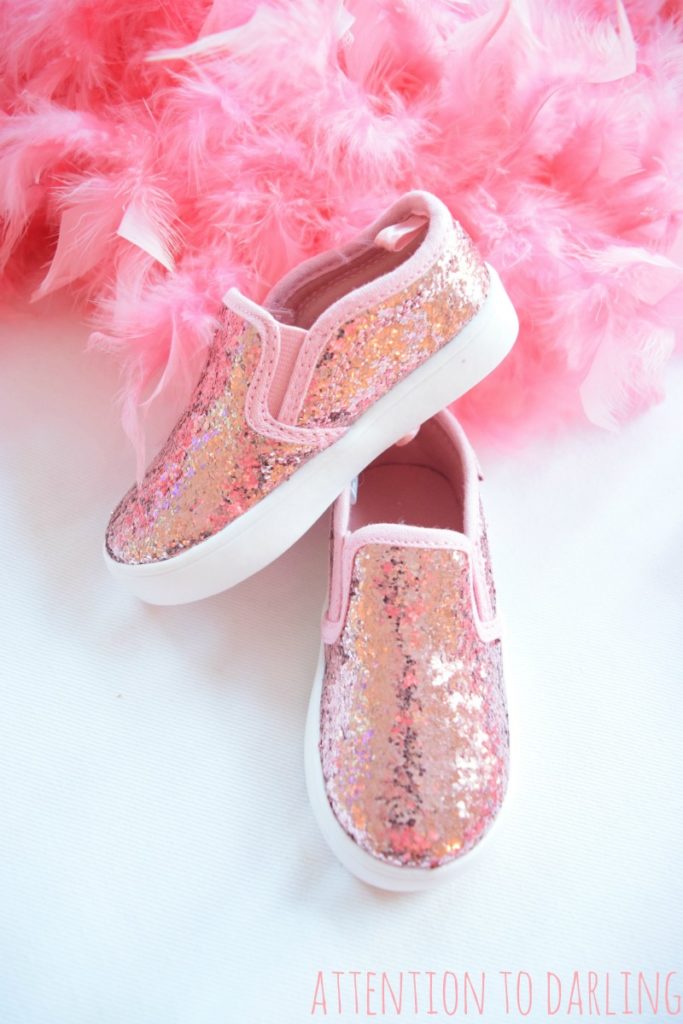
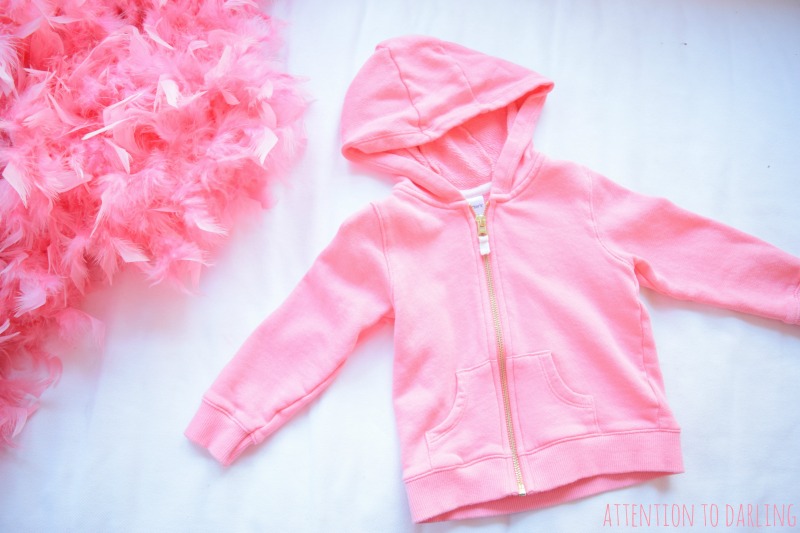
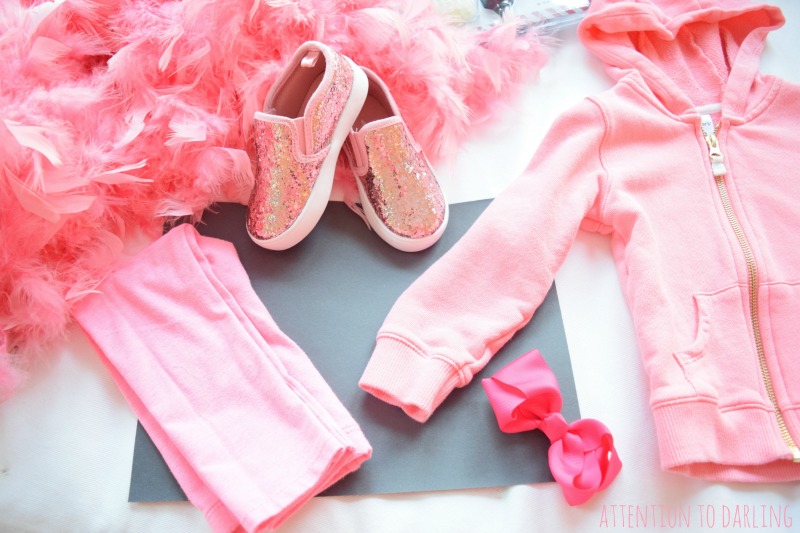
We already had the pink pants (also debated these actual flamingo ones), glitter pink shoes and a pink bow (for when the hood was down), so all that was needed was a pink zip up from Carters (now on sale for $11) and some boas from the party store. Perfect for last minute because you don’t need to order anything special online!
Here’s what you’ll need:
- Hoodie in your Child’s Size
- 3 Pink Boas
- 1 Sheet of Black Construction Paper
- 1 Sheet of Pink or Red Construction Paper
- Hot Glue Gun
- Hot Glue Sticks (about 40-50)
- Scissors
- Cardboard (mine was from an Amazon box)
- Pink Leggings
- Pink Bow
- Pink Shoes (or black!)
- Thick undershirt (avoids irritation)
Now just follow these steps and you’ll be good to go!
- Prep your materials! Cut any ends off of boas, mine had a white cord that extended out and knotted without any feathers on them. Warm up the hot glue gun. Have glue sticks handy. Lay out your hoodie and bow.
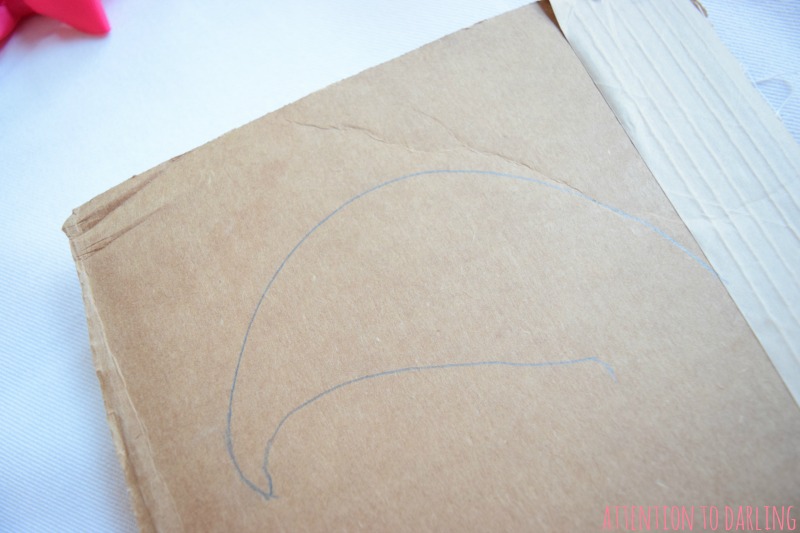
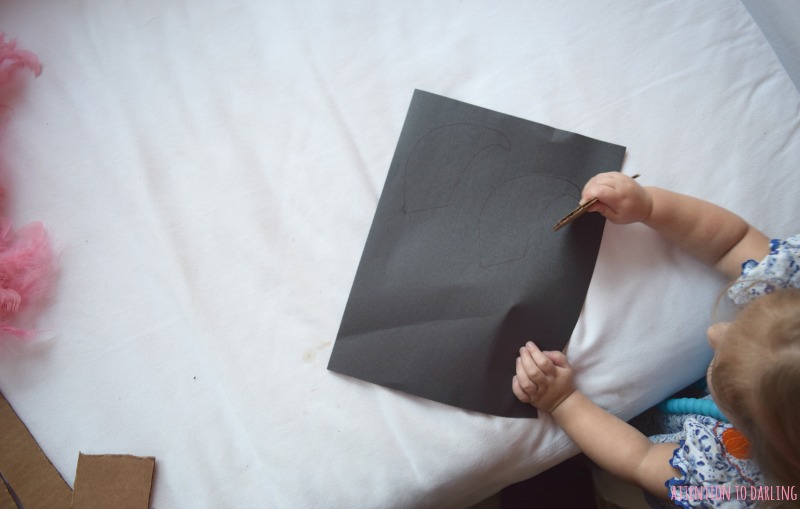
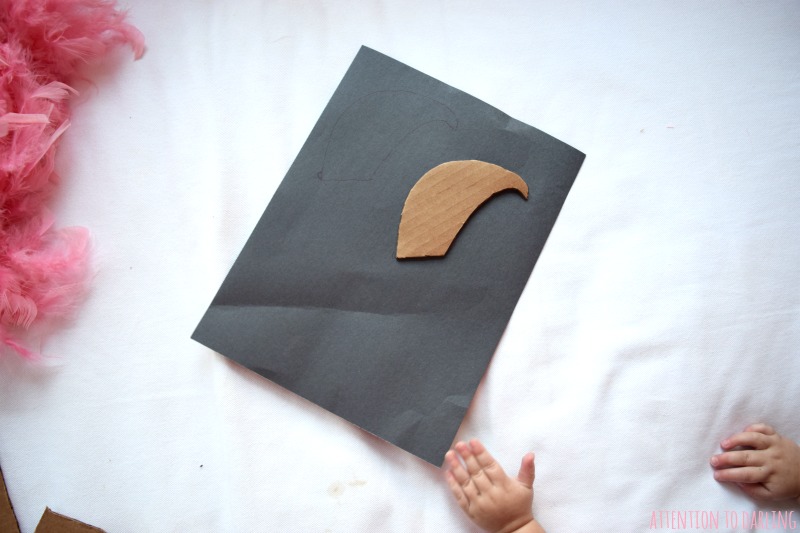
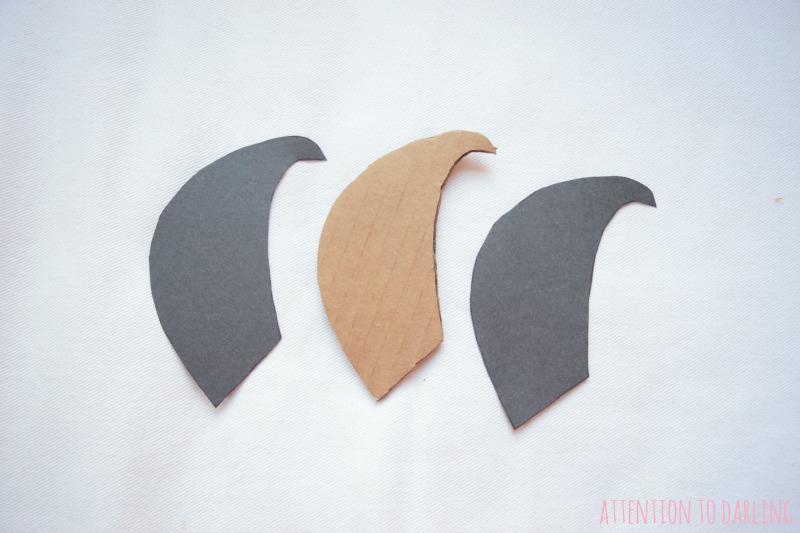
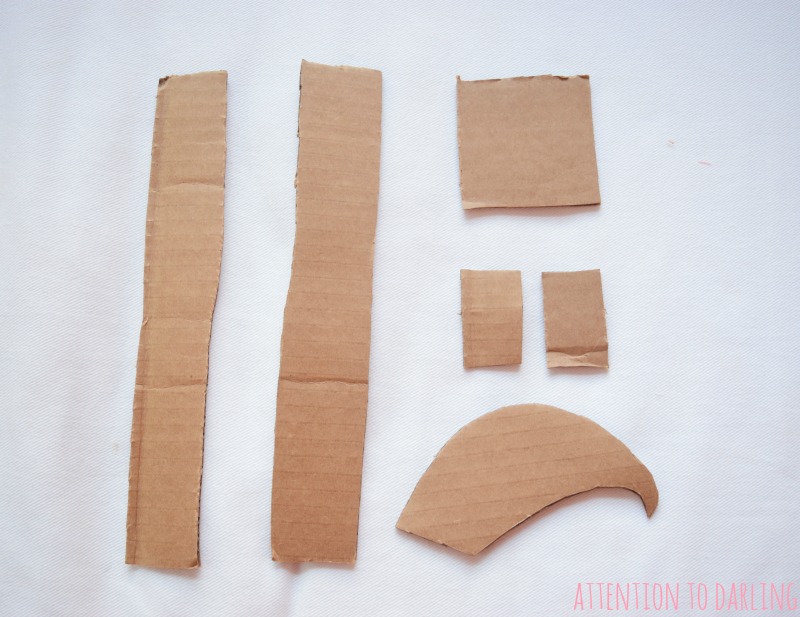
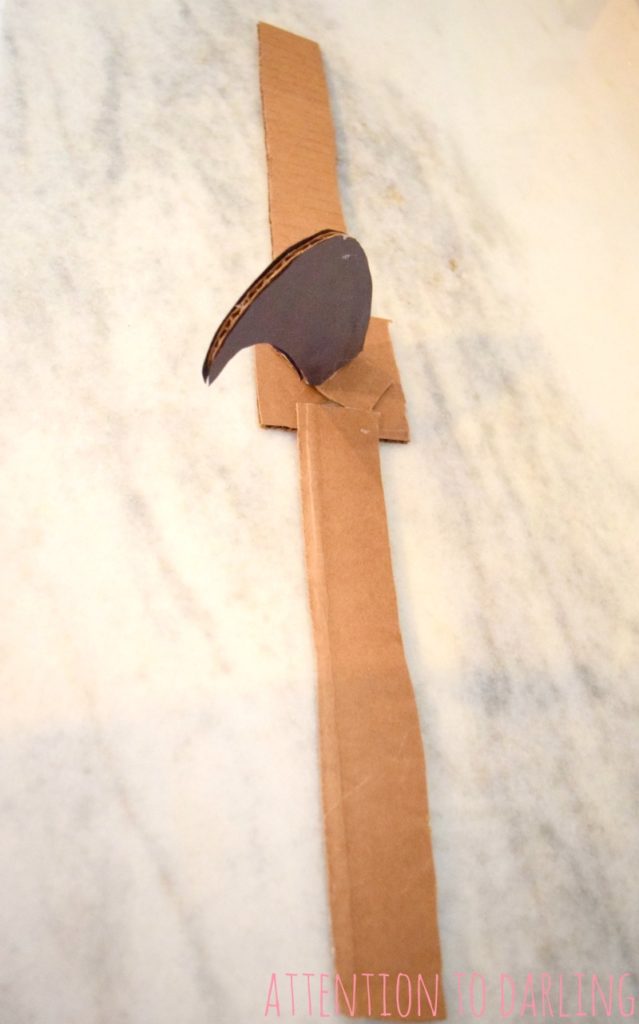
- Cut out the beak and support! I hand drew a beak with pencil on the cardboard and cut it out. Then use that as a stencil and trace out and cut two pieces of black construction paper. Cut two strips of cardboard that are the length of the side of your hoodie. Cut out two small rectangles. Cut out one square that will fit the beak + rectangles.
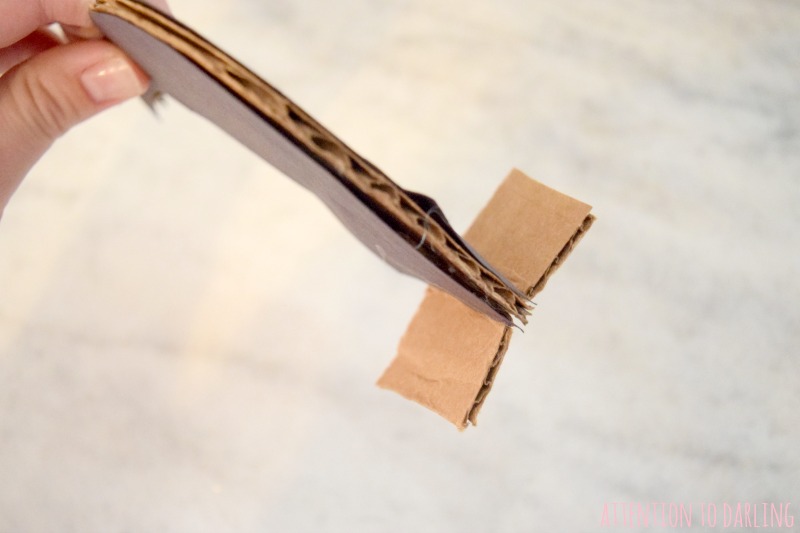
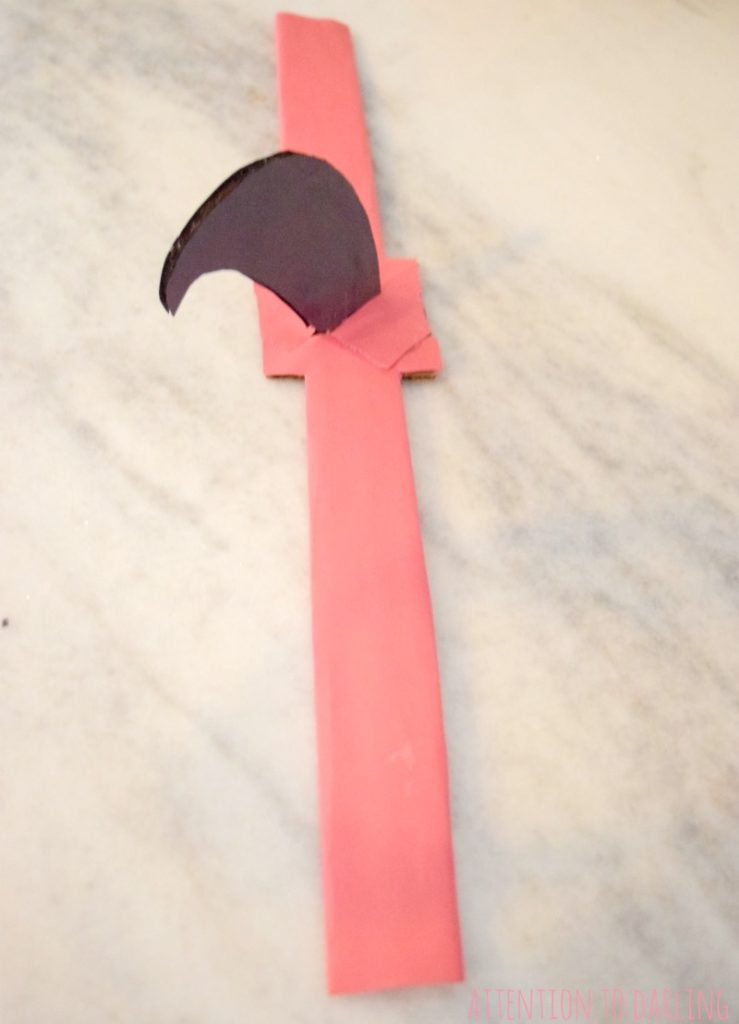
- Make the beak! Glue the two tabs to the beak, one on each side, with half hanging off. Glue the black cut outs to the beak. Bend the tabs at the bottom of the beak. Glue them to the square diagonally. Glue a strip on each side of the square. Cover the support in pink or red construction paper so it blends. Bend to form around hood.
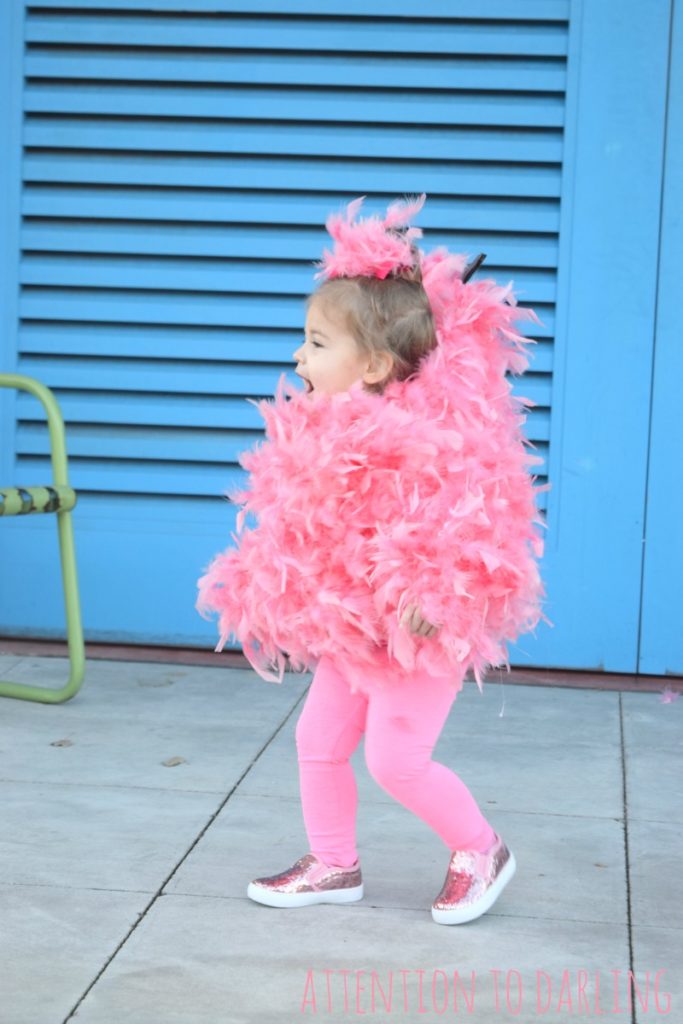
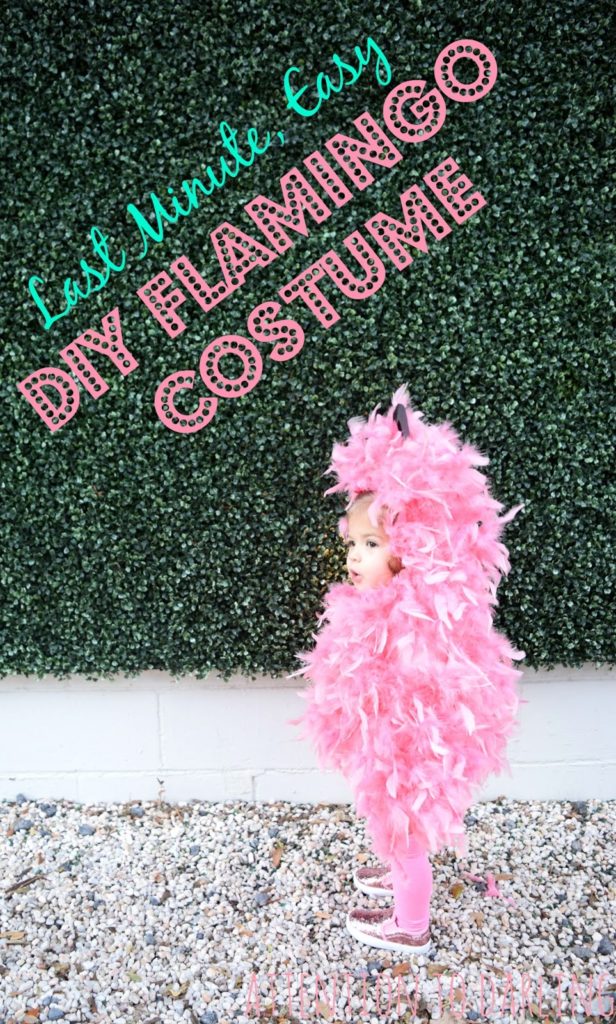
- Glue the beak and structure to the hood! One strip on each side and the beak on the square to the top. I angled the beak so it didn’t look as much like a shark’s fin. See here:
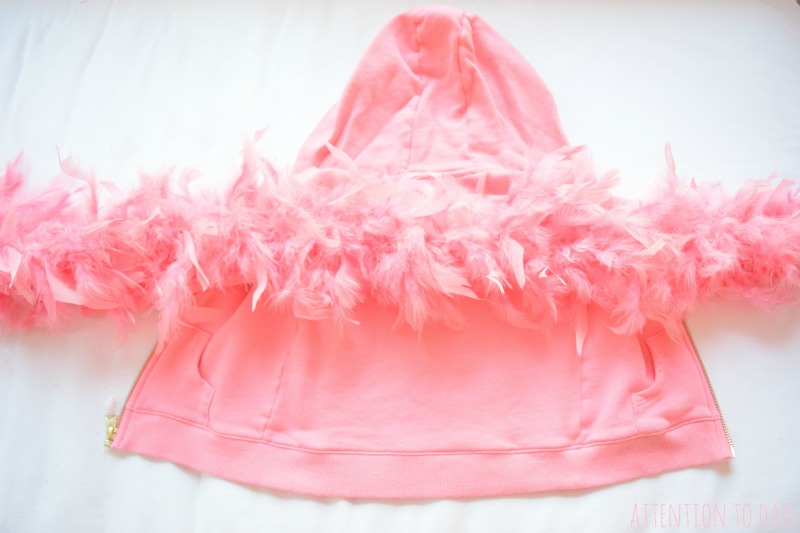
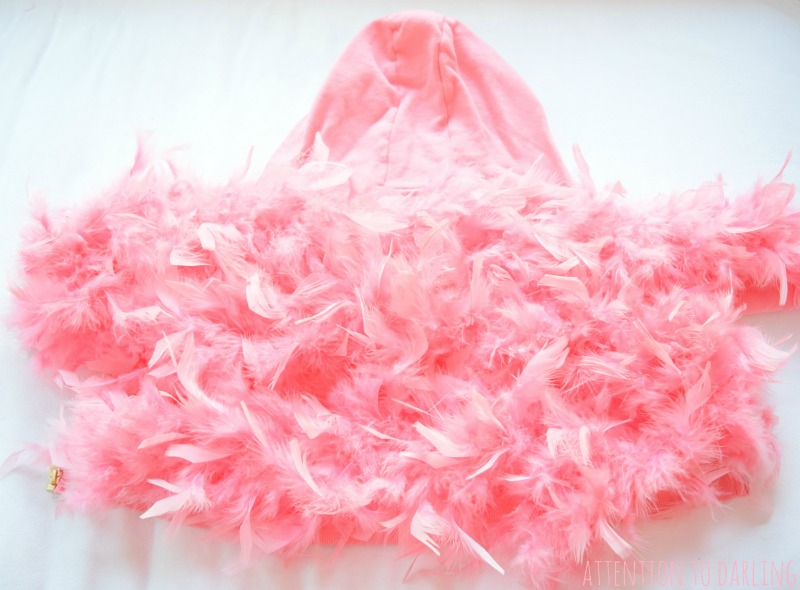
- Glue the boas to the jacket! This was the most tedious part consisting of squirting out patches of glue and then pressing down the boa, repeat, repeat, repeat. I went in rows and would cut the boa when I finished each row (vs. serpentine). I started across the back from arm to arm. Then the rest of the back. Next the rest of the arms. Then the hood. Then the front panels. Make sure you can zip the zipper in the front if your hoodie has one!
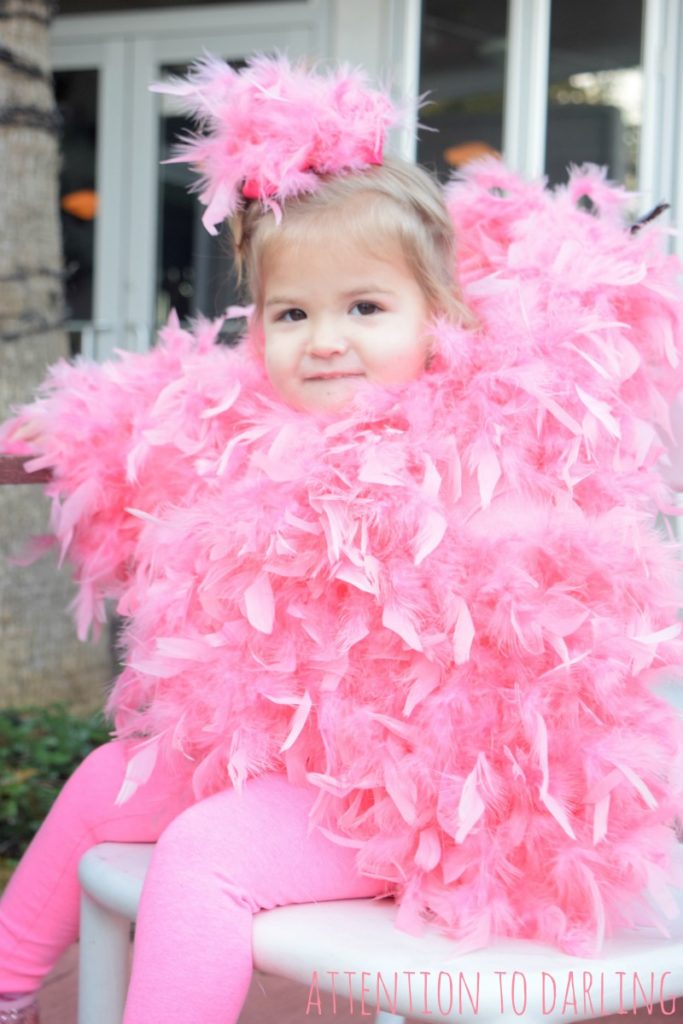
- Fancy up your bow! Add a little strip of boa to the top of your bow with the hot glue so she’s still cute even with the hood down! Just like in the cute little photo below…
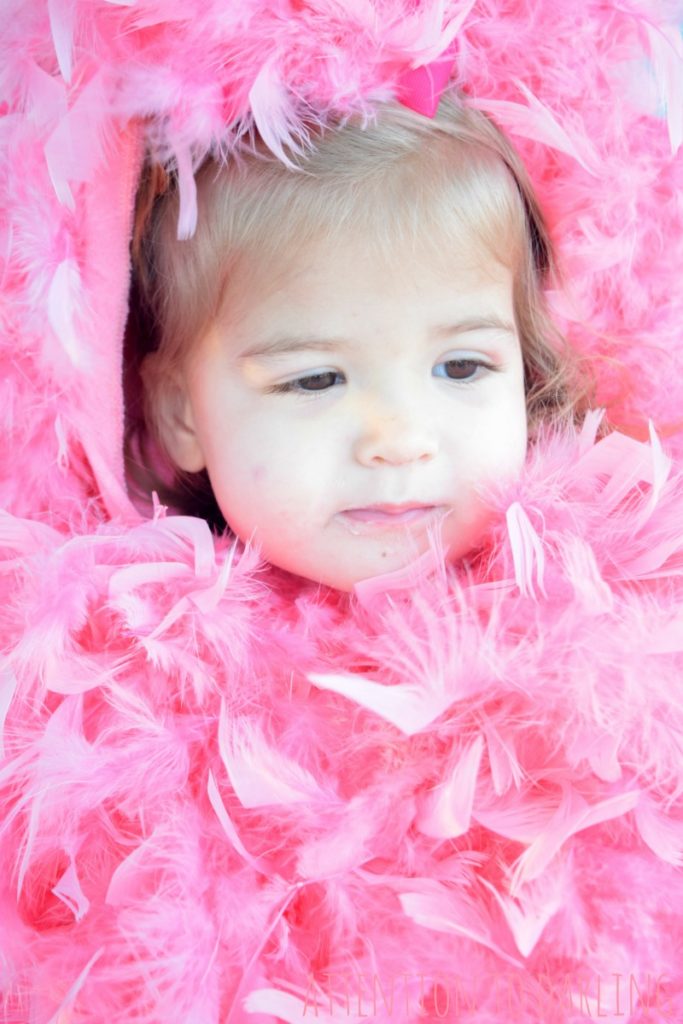
That’s it! I may have gone a little overboard with the support for the beak, but it ended up really cute once she had it on and there was no wobble. Let me know what you think and if you have any questions!
Also, stay tuned to Instagram and Snapchat (name: ephilli) to see what Ry and I are going as for a Halloween party this weekend!
PS: Pin this for now or later y’all! And follow me on Pinterest for more fun ideas!






[…] boutonnieres in! This is the most fun wedding inspiration you will see all week! The most adorable flamingo Halloween costume. Looking for something fun this weekend? Barre Evolution is hosting Barre at the […]